Victoria Falls Photography Guide
Victoria Falls is one of the most photogenic natural wonders on Earth — but capturing it well requires planning, the right gear, and an understanding of how the seasons transform the scene.
Best Times to Photograph the Falls
Time of Day:
- Sunrise (06:00–07:00): Soft golden light, minimal crowds, and the chance to capture rainbows in the spray from mid-morning
- Mid-morning (09:00–11:00): The sun angle creates vivid rainbows in the spray — this is THE shot most photographers want
- Late afternoon (15:00–17:00): Warm light on the gorge walls; dramatic long shadows
- Full moon: The famous lunar rainbow (moonbow) appears in the spray on clear full-moon nights
Season:
- High water (March–June): Maximum drama — the full width of the Falls in flood. But the spray is so thick it obscures direct views. Best for wide shots and atmospheric images
- Transitional (July–August): Good balance of water volume and visibility
- Low water (September–November): The gorge's rock face is exposed, revealing the Falls' geological structure. Best for detailed shots and the Zambian side
Essential Viewpoints
Zimbabwe Side (Rainforest Trail):
- Danger Point — Closest viewpoint to the Eastern Cataract; incredibly dramatic
- Cataract View — Panoramic views of the Main Falls; the classic postcard angle
- Rainbow Falls viewpoint — Named for the near-permanent rainbow in high water
- Devil's Cataract — The viewpoint closest to the western end; a quieter, moodier perspective
From the Air:
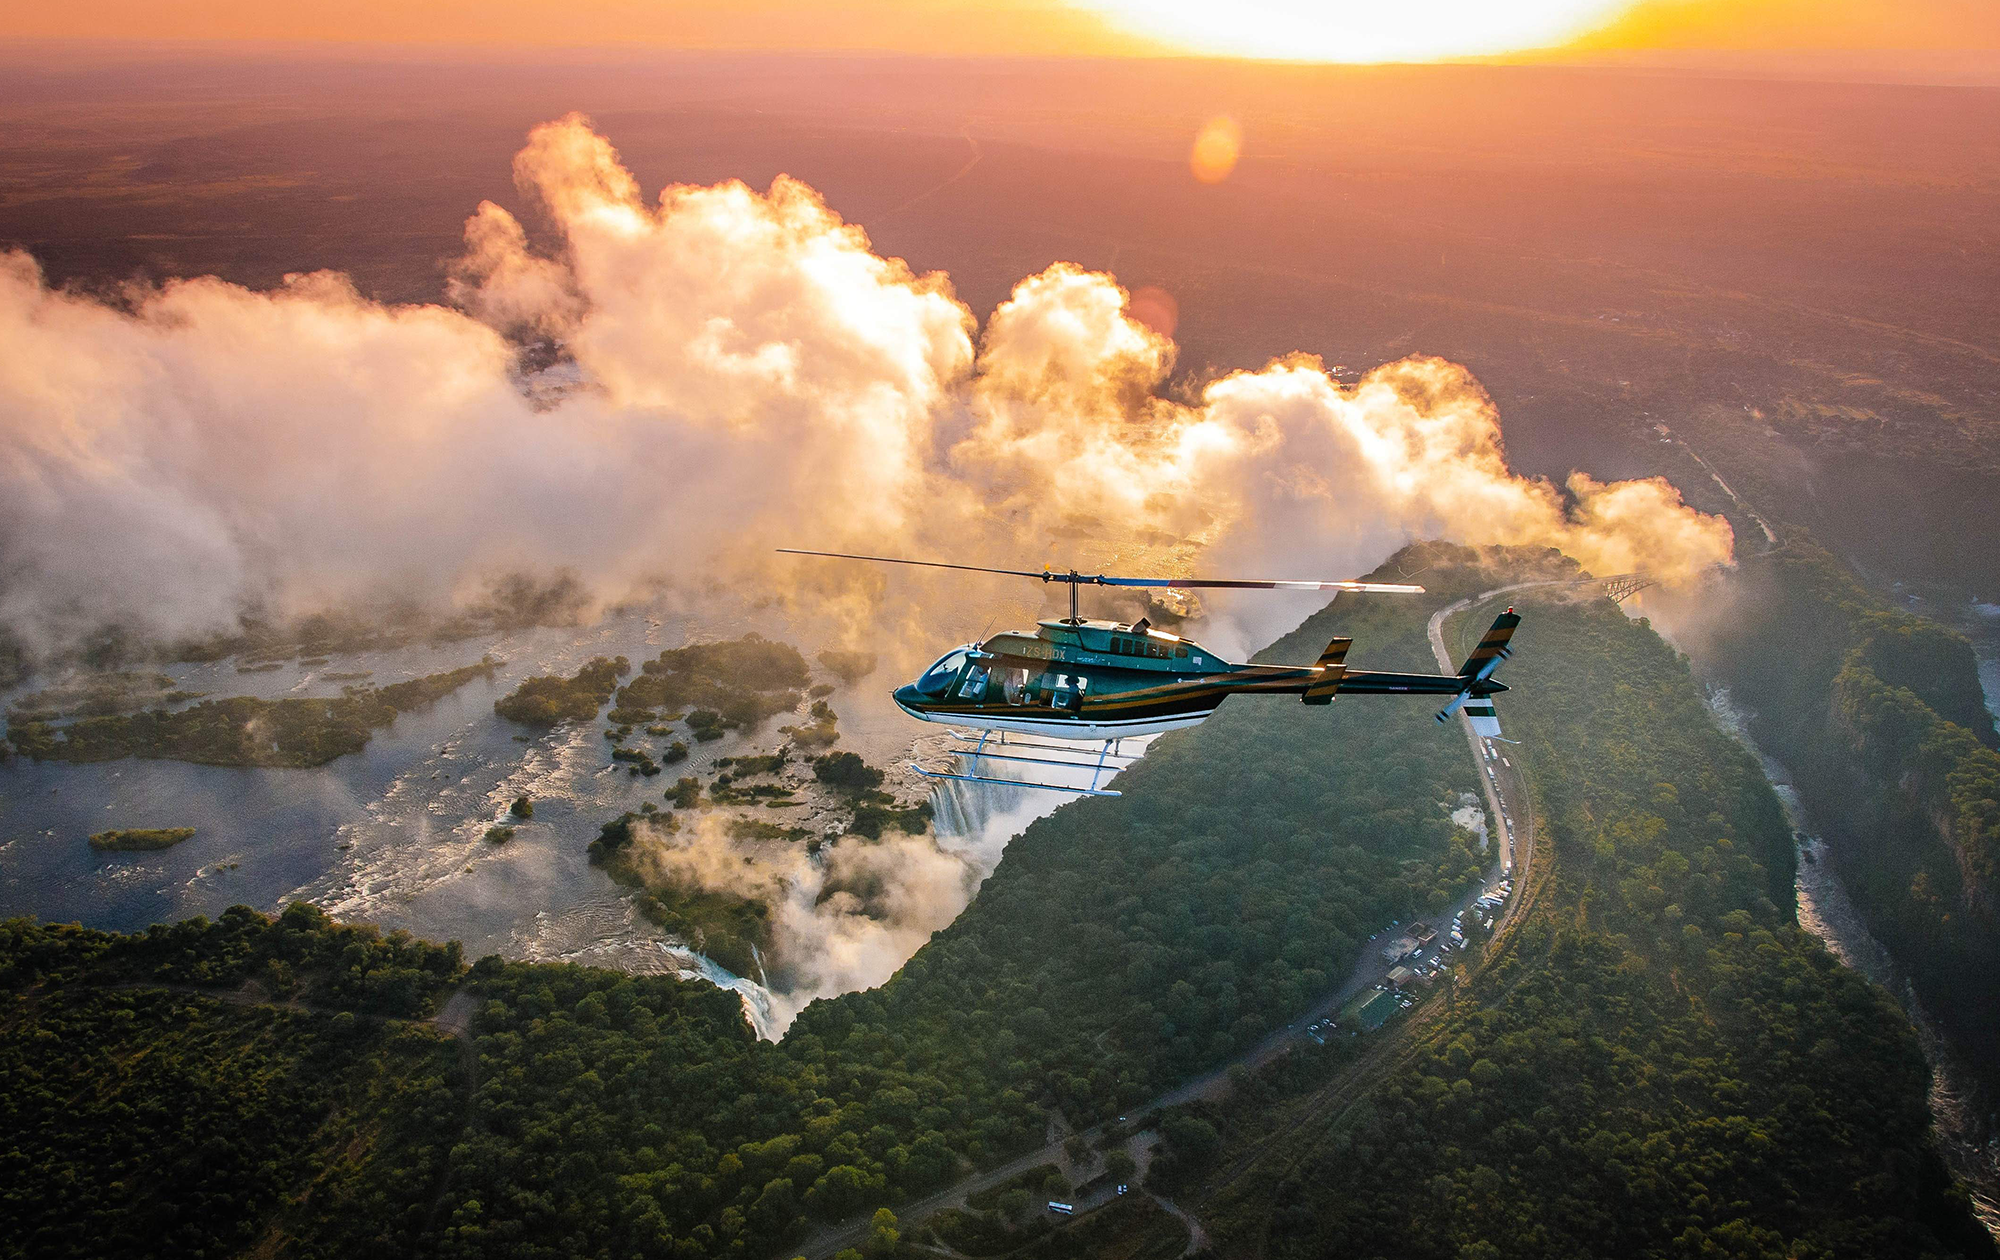
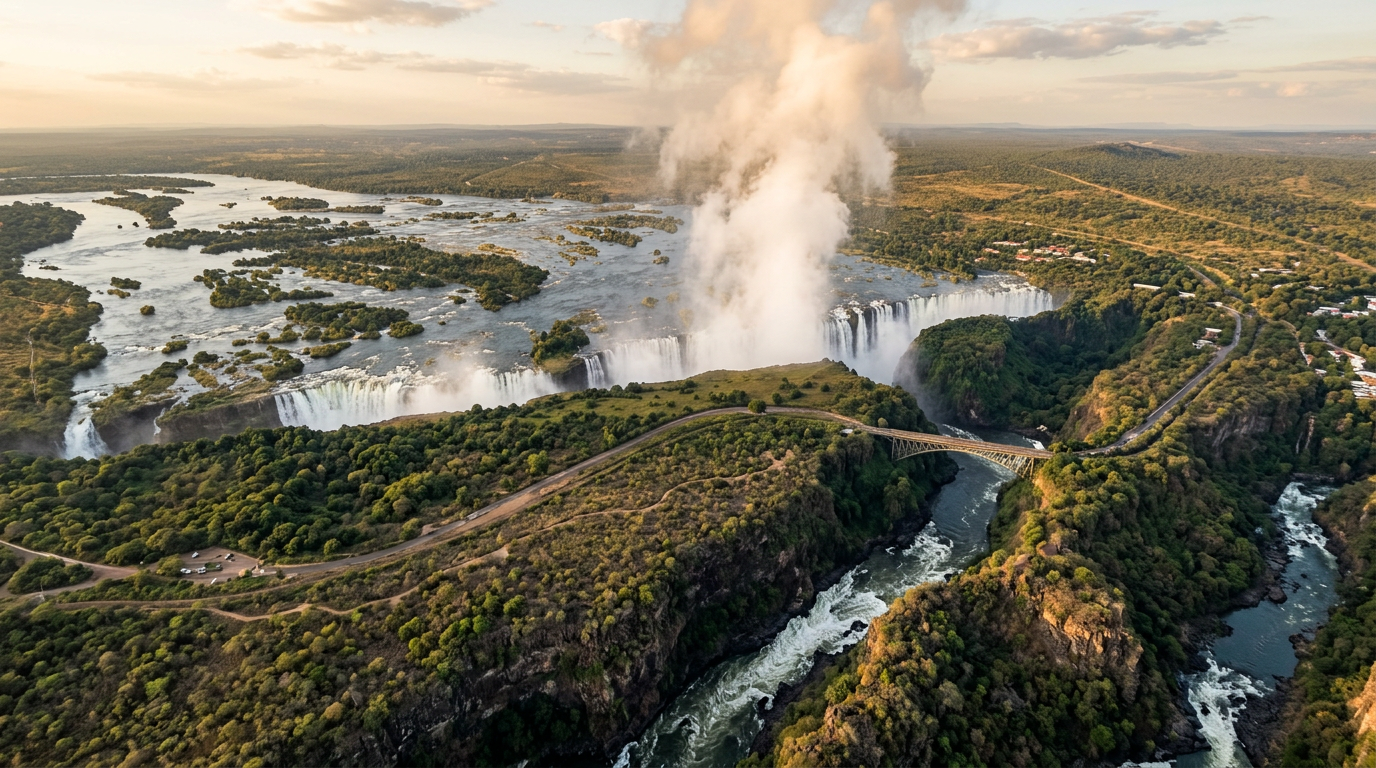
- Helicopter flights offer the definitive aerial perspective
- Microlight flights put you in an open cockpit for unobstructed shooting
Gear Recommendations
- Wide-angle lens (16–35mm) — Essential for capturing the full width of the Falls
- Telephoto (70–200mm) — For isolating sections of the Falls and wildlife on the river
- Waterproof protection — The spray in high water is like standing in a rainstorm. Use a waterproof camera bag or a simple plastic bag with a hole for the lens
- Lens cloth — You'll need to wipe spray off your lens constantly
- Tripod — For long exposures that turn the cascading water into silk
- Polarising filter — Cuts through spray glare and enhances rainbows
- ND filter — For silky-water long exposures in daylight
Camera Settings
- Silky water effect: ISO 100, f/16–f/22, 1–5 seconds (tripod + ND filter)
- Freezing water droplets: ISO 400–800, f/8, 1/1000s or faster
- Rainbow shots: Polariser angled to enhance the rainbow; bracket exposures
- Aerial shots: Fast shutter (1/1000s+), wide aperture, high ISO to compensate for helicopter vibration
Pro tip: Bring a dry bag for your gear and wear clothes you don't mind getting soaked. In high water season, you WILL get drenched at several viewpoints.
Smartphone Photography Tips
You don't need professional equipment to capture stunning photos at Victoria Falls. Modern smartphones perform remarkably well in the unique conditions:
- Waterproof case: Essential during high-water season (February–May) when spray can soak you within minutes. Even a simple ziplock bag will protect your phone.
- Burst mode: Use burst mode to capture the constantly shifting spray patterns and rainbows. You'll get several usable shots from each burst.
- HDR mode: Turn on HDR for the best balance between the bright sky and the darker gorge below.
- Video: Short 15–30 second clips work better than long recordings. The sound of the falls is as impressive as the sight — make sure your microphone is unobstructed.
Best Viewpoints for Photography
Each viewpoint along the falls trail offers a different perspective:
- Devil's Cataract (first viewpoint): Best for capturing the full width of the falls with minimal spray interference. Excellent for panoramic shots.
- Main Falls (viewpoints 3–6): The most photogenic section with the tallest drop. Expect heavy spray from March to July.
- Danger Point: The closest viewpoint to the Eastern Cataract. Dramatic angles but bring a rain cover for your camera.
- Knife Edge Bridge: A narrow bridge extending over the gorge with views directly into the boiling pot. Best for dramatic gorge shots.
Hiring a Guide
Local photography guides are available for hire and know exactly which viewpoints work best at different times of day and water levels. A 2–3 hour guided photography session typically costs USD 50–100 and is excellent value for serious photographers. Your guide can also take you to lesser-known viewpoints that most tourists miss.