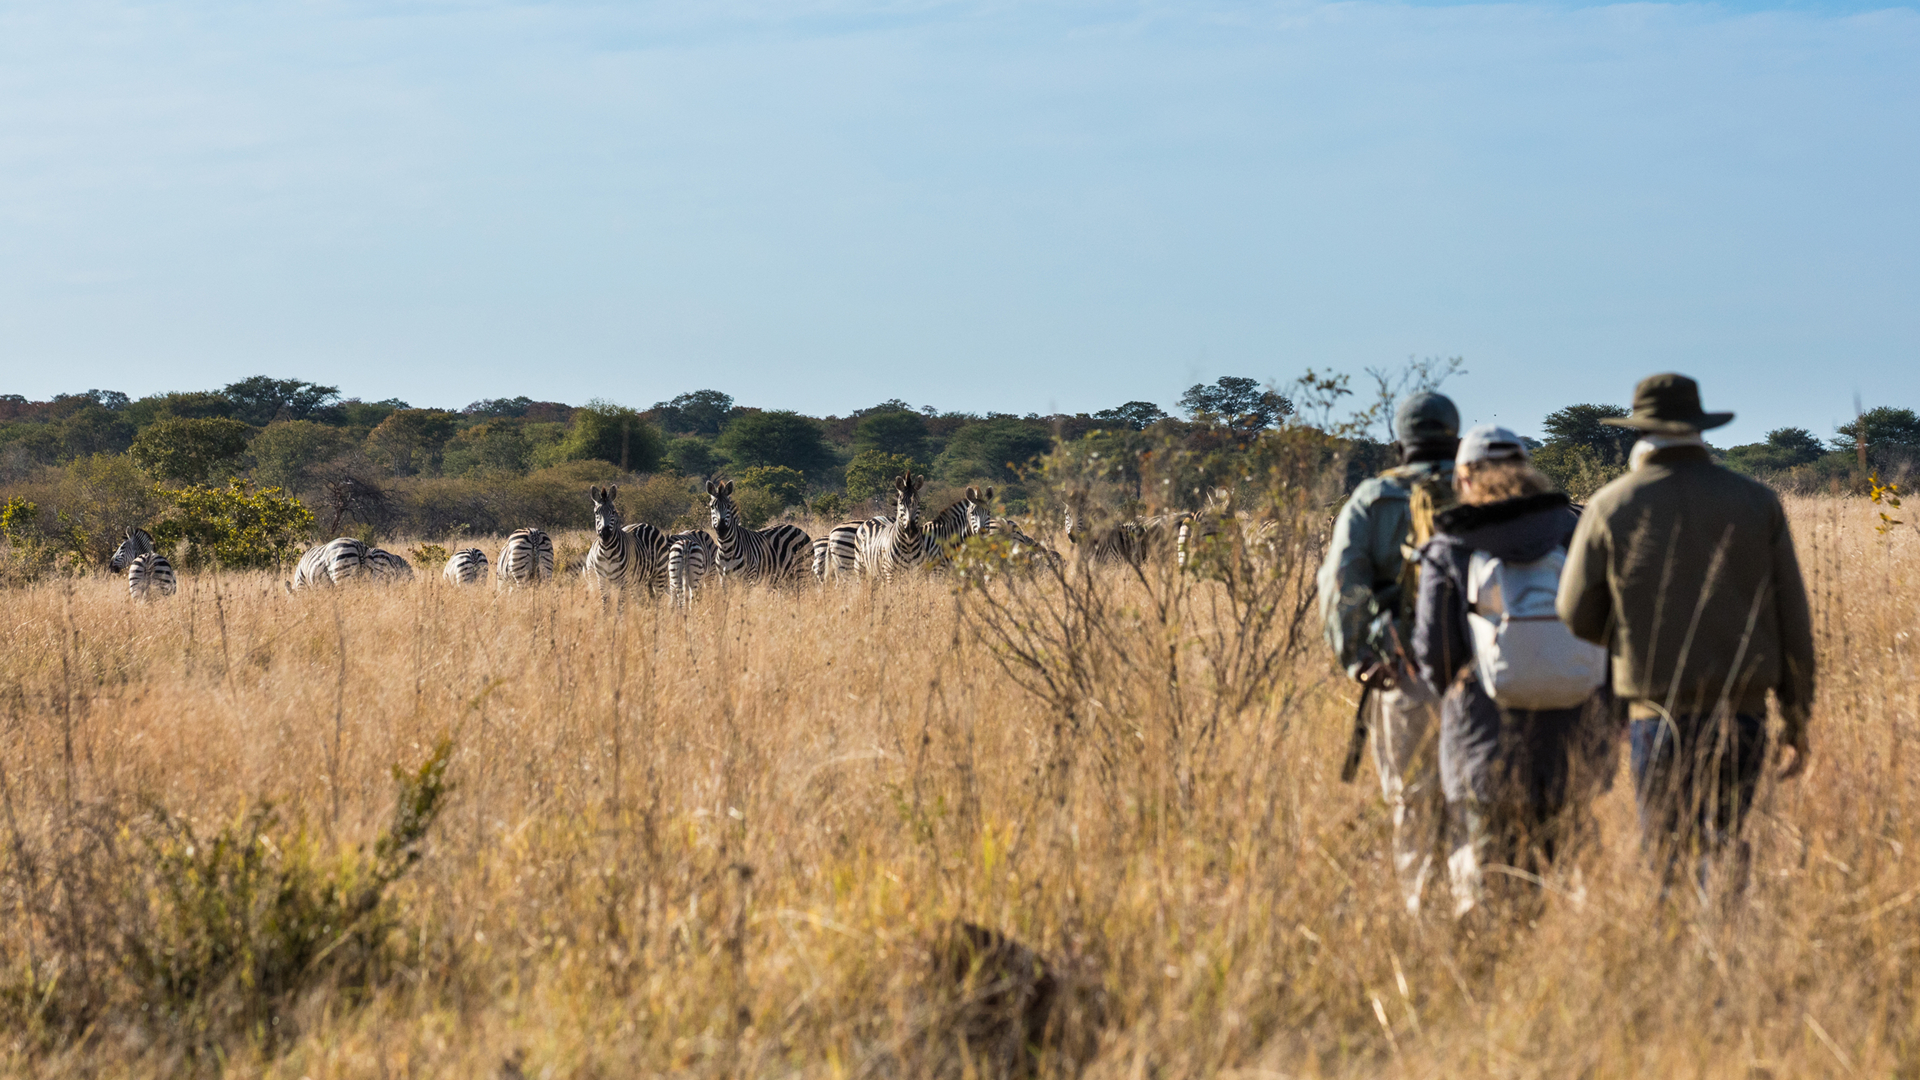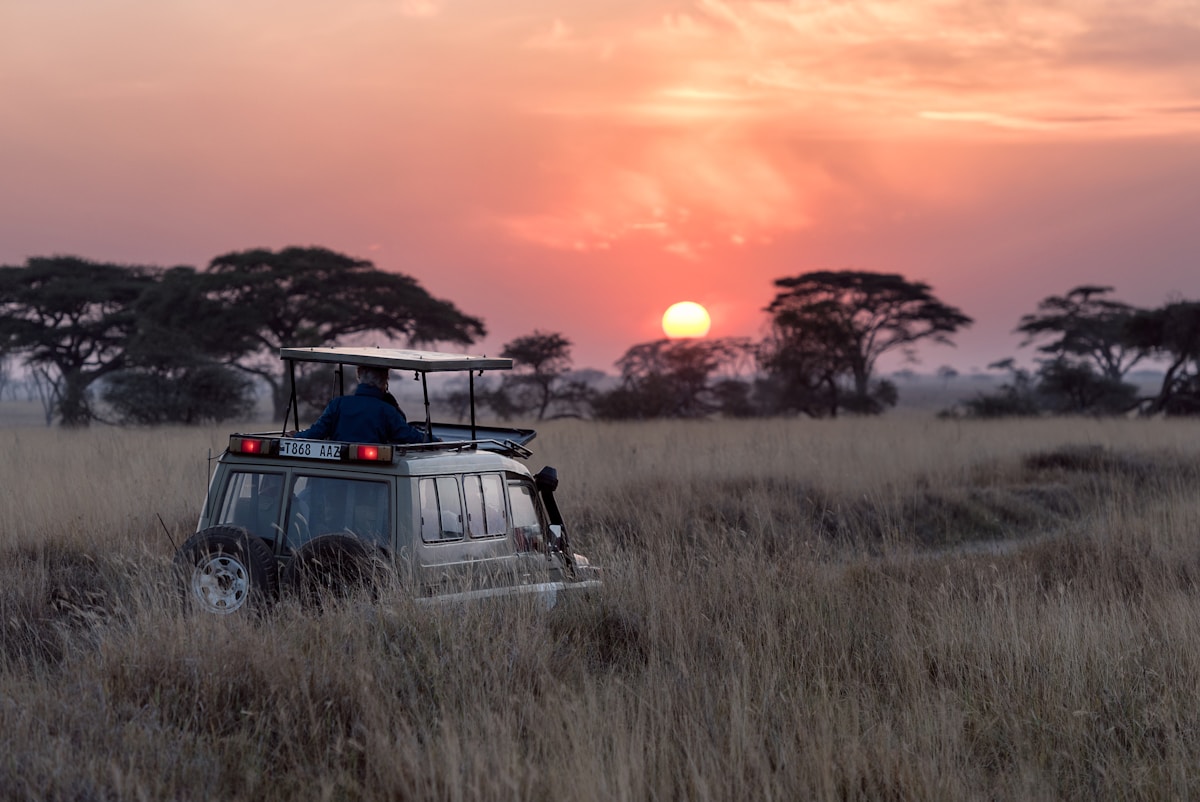
Zimbabwe's national parks , particularly Hwange, Matobo, and Mana Pools , offer some of the finest wildlife photography opportunities in Africa. Whether you're shooting on a smartphone or a professional DSLR, these tips will help you come home with images that do justice to the experience.
1. Bring Two Bodies (If You Can)
Carrying two camera bodies with different lenses attached saves precious seconds when the action unfolds. Mount a telephoto (200–600mm) on one and a versatile zoom (24–70mm or 70–200mm) on the other. Swapping lenses in dusty safari vehicles risks sensor contamination.
2. Choose the Right Telephoto
For wildlife, a minimum reach of 300mm is essential. A 200–600mm zoom is the ideal safari workhorse , it covers everything from a full elephant portrait to a distant raptor. If you have a shorter lens, a 1.4x teleconverter can extend your reach.
3. Use a Beanbag, Not a Tripod
Tripods are impractical inside safari vehicles. Instead, use a beanbag draped over the vehicle's window ledge or roof hatch. Bring it empty and fill it with rice or dried beans when you arrive , most lodges can provide the filling.
4. Nail Your Settings Before the Sighting
Don't fumble with settings when a leopard appears. Before each drive, set your camera to:
- Shutter speed: 1/1000s minimum (faster for birds or running animals)
- Continuous autofocus (AI Servo / AF-C)
- Burst mode / high-speed continuous shooting
- Auto ISO with a maximum ceiling (e.g., ISO 6400)
5. Shoot in RAW
Safari lighting is challenging , deep shadows under trees, harsh midday sun, and dramatic backlighting. RAW files give you far more latitude to recover highlights and lift shadows in post-processing than JPEGs.
6. Focus on the Eyes
In any wildlife portrait, the eyes must be sharp. If they're soft, the image doesn't work regardless of everything else. Use single-point AF or animal eye-detection if your camera supports it.
7. Work the Light
The golden hours , the first two hours after sunrise and the last two before sunset , produce the warmest, most flattering light. Midday light is harsh and flat. Use these middle hours for rest, reviewing images, or shooting black-and-white compositions where harsh contrast can work in your favour.
8. Tell a Story
Don't just shoot tight headshots. Pull back to show the animal in its environment , an elephant silhouetted against a Hwange sunset, a herd of buffalo at a waterhole with baobab trees behind them. These environmental portraits convey a sense of place that close-ups alone cannot.
9. Be Patient
The best wildlife images come from spending extended time at a single sighting rather than rushing between animals. Stay with a subject. Wait for behaviour , a yawn, a stretch, an interaction between mother and calf. These moments make photographs memorable.
10. Communicate with Your Guide
Tell your guide you're interested in photography. They can position the vehicle for better angles, turn off the engine to reduce vibration, and predict animal behaviour. A good guide is your most valuable photographic tool on safari.
11. Respect the Wildlife
Never ask your guide to harass, chase, or provoke animals for a photograph. Ethical wildlife photography means accepting that sometimes the shot doesn't happen. The animal's welfare always comes first.
12. Edit Ruthlessly
You might shoot 3,000 images in a week. The best photographers are also the best editors. Select only the top 5–10% for your final collection. A curated portfolio of 100 exceptional images tells a far stronger story than 3,000 mediocre ones.